In this Post will cover Skype for Business Edge server Step by Step
Topology Builder
Logon to the Front-End server and start the Topology Builder. Instead of creating a new topology download the topology from an existing deployment and store the file on the local hard disk.
1) Expand the topology tree and click on “Edge Pools”
2) Right Click “Edge Pools” then select “New Edge Pool”
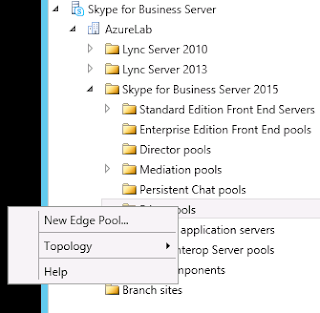
Click next to define New Edge pool.
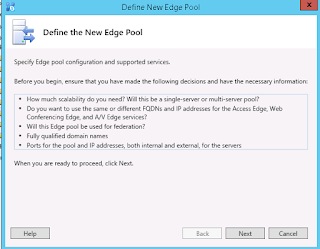
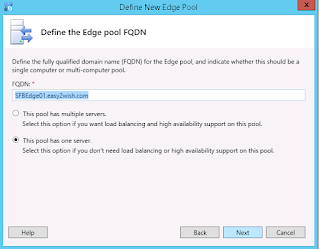
Define the Edge Pool
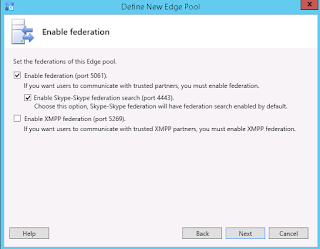
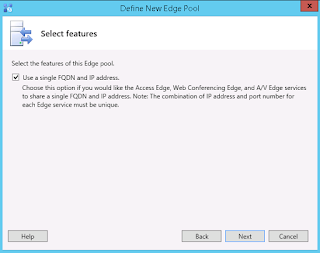
Select Features, Select the features you want to deploy and click next
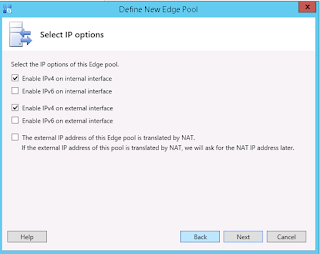
Select IP Options and Click on Next.
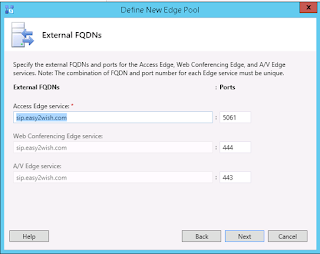
External FQDNs” For each Edge services enter the external URL of it as in the screenshot below
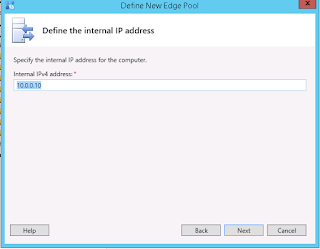
Enter Internal IP Address and Click Next.
Enter External IP Address and click on Next.
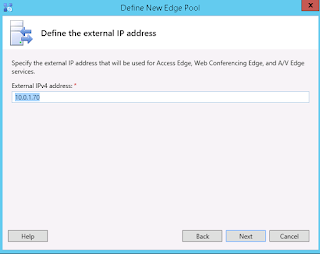
Click Next
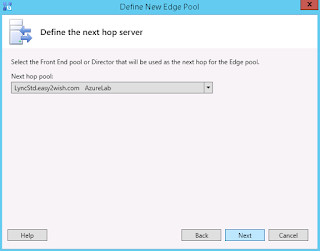
Click Next.
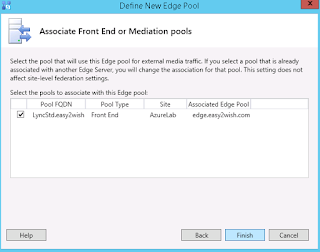
Select Publish Topology to Publish the Topology
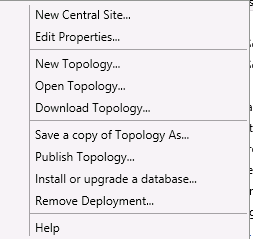
Click On Finish.
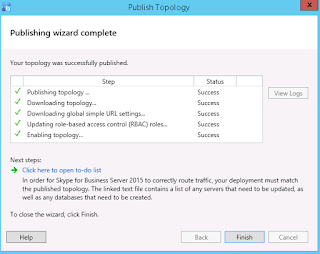
Now that we published the new changes to the CMS database, we need to export those configurations to a file that we will be using on the Skype For Business Edge server to install the edge role.
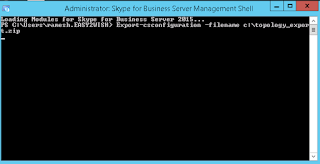
Start a Skype For Business Management Shell and using the following command line export the CS-Configuration to a ZIP file
To Export Configuration file.
Configuring and Installing Edge server
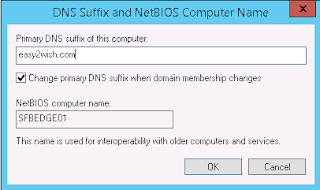
In order to install the Skype for Business edge server we will have to change the Netbios name as we are not going to join the system to domain
Install the pre-requisites in edge server
Add-WindowsFeature NET-Framework-Core, Windows-Identity-Foundation, NET-WCF-HTTP-Activation45, Web-Asp-Net45

Insert Skype for Business ISO and run Setup.exe.
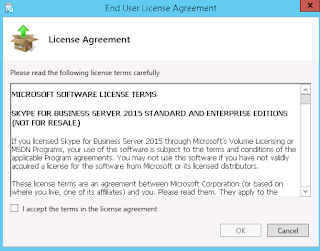
Accept License Agreement and click on OK.
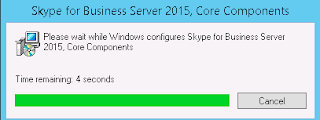
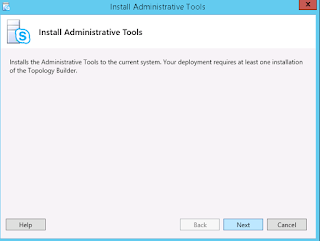
Click on Next to install Administrative tools
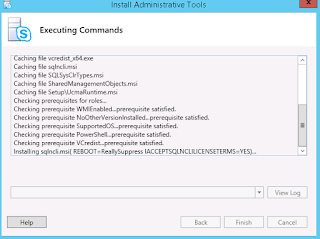
Select Run Install Local Configuration Store
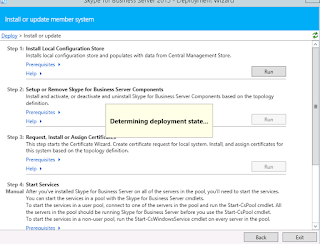
Select Import and import the edge configuration file by selecting browse button. and Click Next.
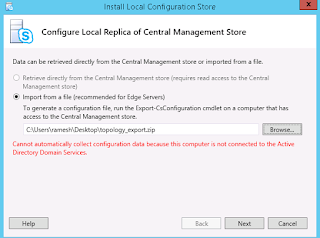
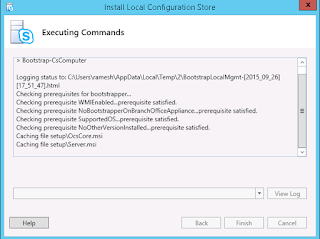
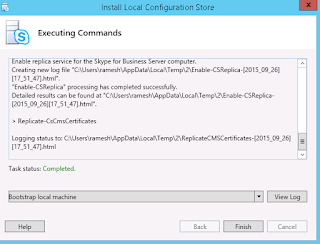
Click on Finish.
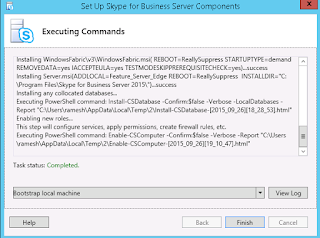
Click next to install the Server components.
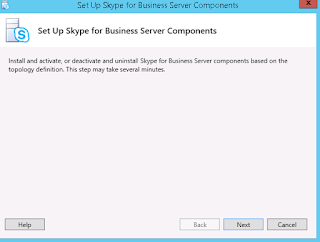
Click on Finish
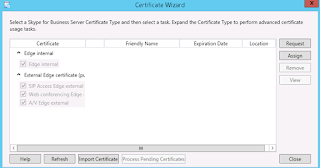
Select Internal & External Certificate Request.
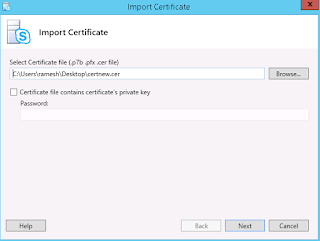
Import Certificate.Click Next
Click Next
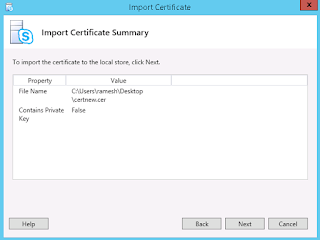
Click on Finish
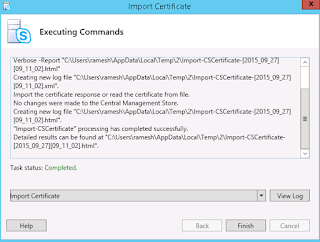
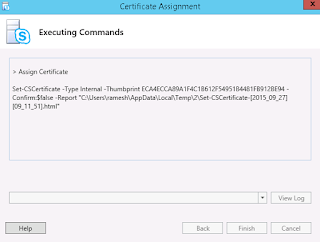
Click on Assign the certificate.
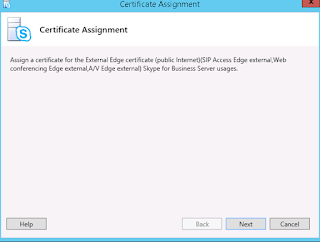
Once certificate Assigned. Start services.
Hope this will be Help Full :)
Topology Builder
Logon to the Front-End server and start the Topology Builder. Instead of creating a new topology download the topology from an existing deployment and store the file on the local hard disk.
1) Expand the topology tree and click on “Edge Pools”
2) Right Click “Edge Pools” then select “New Edge Pool”

Click next to define New Edge pool.

Define the Edge Pool

Select Features, Select the features you want to deploy and click next


Select IP Options and Click on Next.

External FQDNs” For each Edge services enter the external URL of it as in the screenshot below

Enter Internal IP Address and Click Next.

Enter External IP Address and click on Next.

Click Next

Click Next.

Select Publish Topology to Publish the Topology

Click On Finish.

Now that we published the new changes to the CMS database, we need to export those configurations to a file that we will be using on the Skype For Business Edge server to install the edge role.
Start a Skype For Business Management Shell and using the following command line export the CS-Configuration to a ZIP file
To Export Configuration file.

Configuring and Installing Edge server
In order to install the Skype for Business edge server we will have to change the Netbios name as we are not going to join the system to domain

Install the pre-requisites in edge server
Add-WindowsFeature NET-Framework-Core, Windows-Identity-Foundation, NET-WCF-HTTP-Activation45, Web-Asp-Net45

Insert Skype for Business ISO and run Setup.exe.
Accept License Agreement and click on OK.


Click on Next to install Administrative tools


Select Run Install Local Configuration Store

Select Import and import the edge configuration file by selecting browse button. and Click Next.


Click on Finish.

Click next to install the Server components.

Click on Finish

Select Internal & External Certificate Request.

Import Certificate.Click Next

Click Next

Click on Finish


Click on Assign the certificate.

Once certificate Assigned. Start services.
Hope this will be Help Full :)
Hello
ReplyDeletethus nice
I have followed and installed Lync Edge 2015 but have some few challenges
ReplyDeleteat the FQDNs you specify
ReplyDeleteAccess Edge;
sip.easy2wish.com
web conf;
same sip.easy2wish.com
and av = same sip.easy2wish.com
ok
1. is this correct ( to make all sip.easy2wish.com)
access edge
web conf
av
what thus it mean?
Cool stuff you have got and you keep update all of us. Eric Samek Brasa Capital
ReplyDelete